


How to use Canva and Packhelp to design custom packaging

- 200+ templates & patterns
- Real time 3D packaging preview
- Upload logo and choose brand colours

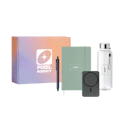
Subscribe now! Receive 15% discount.
Don’t miss out – get 15% off your first order when you join the newsletter. It’s fast, free, and kinda smart.

You're now subscribed!
In this article:
- Getting started
- Step 1 - Pick your box
- Step 2 - Pick your size
- Step 3 - Select a surface
- Step 4 - Select a surface
- Step 5 - Create a custom-sized image in Canva
- Step 6 - Design your surface
- Step 7 - Download your image
- Step 8 - Repeat for all other surfaces
- Step 9 - Upload images to Packhelp designer
- Step 11 - Place your order
- Conclusion
Canva is one of the most powerful design tools of the modern era.
Whether you start with a completely blank canvas or a pre-designed image, you’re able to create visual assets exactly how you want them.
Facebook post images, infographics, flyers - the list is just about endless.
One other thing to add to that list is custom packaging.
Using Canva and the Packhelp Editor you can create personalised mailer boxes and a wide range of other packaging supplies with any kind of design elements you’d like.

And in this article, you’re going to see exactly how to do that.
This article will walk you through:
- Using Canva to create each element of your product packaging
- Putting those elements onto your custom packaging using the Packhelp editor
- And getting the most out of bespoke product packaging.
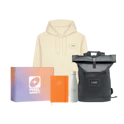
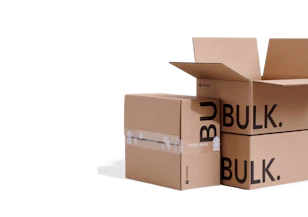
If you sell online or in a brick and mortar store, product packaging is a cheap and effective way to add value to your products, as well as a touch of classiness.
Using Canva, you’re able to make your packaging look exactly how you’d like.
So let’s get started!
Getting started
For the purpose of this guide, I’ve created my own small brand.

Antoiller makes unique jewellery from ethically sourced deer horn.
I made this design using the awesome free logo designer, DesignEvo. To get the most out of Canva, it’s crucial that you have high-resolution logos at your disposal.
If you don’t, head over to DesignEvo and create a logo to use on your product packaging.
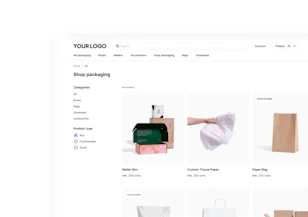
When you’ve got all your logos, symbols, shapes and copy (writing) that you’d like to use on your box, head along to the Packhelp shop.
Step 1 - Pick your box
Now you can see a wide selection of products in front of you.

It’s worth noting that you can use Canva and Packhelp to create designs for a box, a paper bag, a Poly mailer bag - any product that Packhelp offers.
For the purpose of this guide though, we’ll be using an ‘Eco Color Mailer Box’. This white cardboard box has a natural texture to touch.
This is perfect for our natural and earthy brand! On this box, we can have images with nearly any colour printed on top.
Click ‘Eco Color Mailer box’.

Step 2 - Pick your size
On this page, you can get a better look at the type of box you’ll be using.

First of all, you need to pick the correct size box. To do this, you need to know the dimensions of your product.
I know that when they’re folded, my imaginary, thick, deer-inspired blankets measure:
- 20cm wide
- 14cm deep
- 7cm high
Using the drop-down menu find the best-sized box for your product. These measurements are external, so find one that has dimensions a little larger than your product.

NOTE: If you want to send your package in an official Royal Mail letterbox or DeustchePost sized box, pick the 'Letterbox' or 'Maxibrief' option.
After a little searching, you can see that the F45 type box will fit our product quite well.
Now it’s time to select how many units you need.
With Packhelp, you can order as few as 30 pieces This means you can test out the concept of custom packaging before you invest in it more.
Once you’ve selected how many you’d like to order, take note of the expected delivery date. You can also see an estimated delivery time if you need express shipping.
Hit ‘Design yours’ and then select the option on the left. Click ‘Start designing’.
Step 3 - Select a surface
Now you can see your box from a 3D perspective.

This plain white box makes a great blank canvas for you to put your designs on to.
If you’d like to start with a different base colour, now is the time to pick that colour.
On the right-hand side, click the ‘outside colour’ button. Select a preset colour, or if you know the RGB code of the colour you’d like, hit ‘more colours’.
Select your colour and then hit ‘done’.
Now you have your blank canvas in the colour you’d like!
Now, it’s time to select the surface you’d like to start designing.
Step 4 - Select a surface
In the top-right, you can see a series of 7 buttons that control the view you have of your box.

Click a few of these buttons and see how the view changes.
Now click on the surface that you’d like to design first. Here, we will design the top side first of all.
After selecting the top view, you can see the external dimensions of that surface.
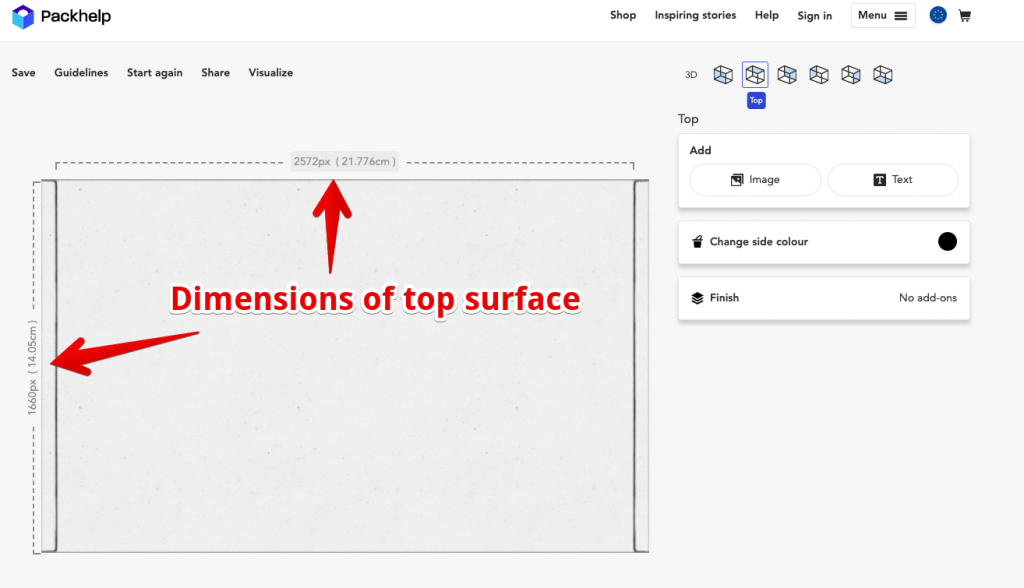
You can see the measurement in both centimetres and pixels. For design purposes, it’s best that you use pixels as your unit of measurement.
Take note of the dimensions - in this case, 2572px x 1660px - and then head over to Canva.
Step 5 - Create a custom-sized image in Canva
Once you’ve logged into your Canva account, you’ll see a button in the top left that says 'Create a design'. Click on this, and from the dropdown menu, select 'Custom dimensions'

Click this button, and then change the unit of measurement to pixels.
Enter the dimensions of the box surface that you noted before and hit ‘Design!’
Step 6 - Design your surface
Now, it’s a matter of using Canva the way it was designed to be used!
Drag and drop elements and create the surface as you’d like it. Use the Upload feature to upload your logo and other imagery to Canva.
Get creative.
Ready to get the ball rolling on your own custom packaging? Get a quote!
Our brand is somewhat minimalist, so we’re using the concept ‘less is more’. But that may not be what works for your brand.
Use shapes as borders, some of the free images and other illustrations to create something that’s truly unique.
In the next picture, you can see how you can use the already made logo from earlier, and a simple border to create an elegant looking box surface.

Once you have designed the surface that you like, it’s time to download your Canva image.
Step 7 - Download your image
Note: It’s important that you download the correct file type.
Download your image as a PNG if you want the white space to be transparent. This means that when you look at your picture in Canva, the white space will be the same colour and texture as the box surface.
This is the file type you will use in 99% of cases.
Download your image as a JPG if you want to print the one solid image on top of the box surface. This means that the natural colour of the box won’t be seen.
Step 8 - Repeat for all other surfaces
Repeat steps 4 to 7 for all surfaces that you would like to have a custom design on.
This is our design for the right-hand side of our box:

Once you have created and downloaded all the surfaces that you’d like, it’s time to upload the images to the Packhelp editor.
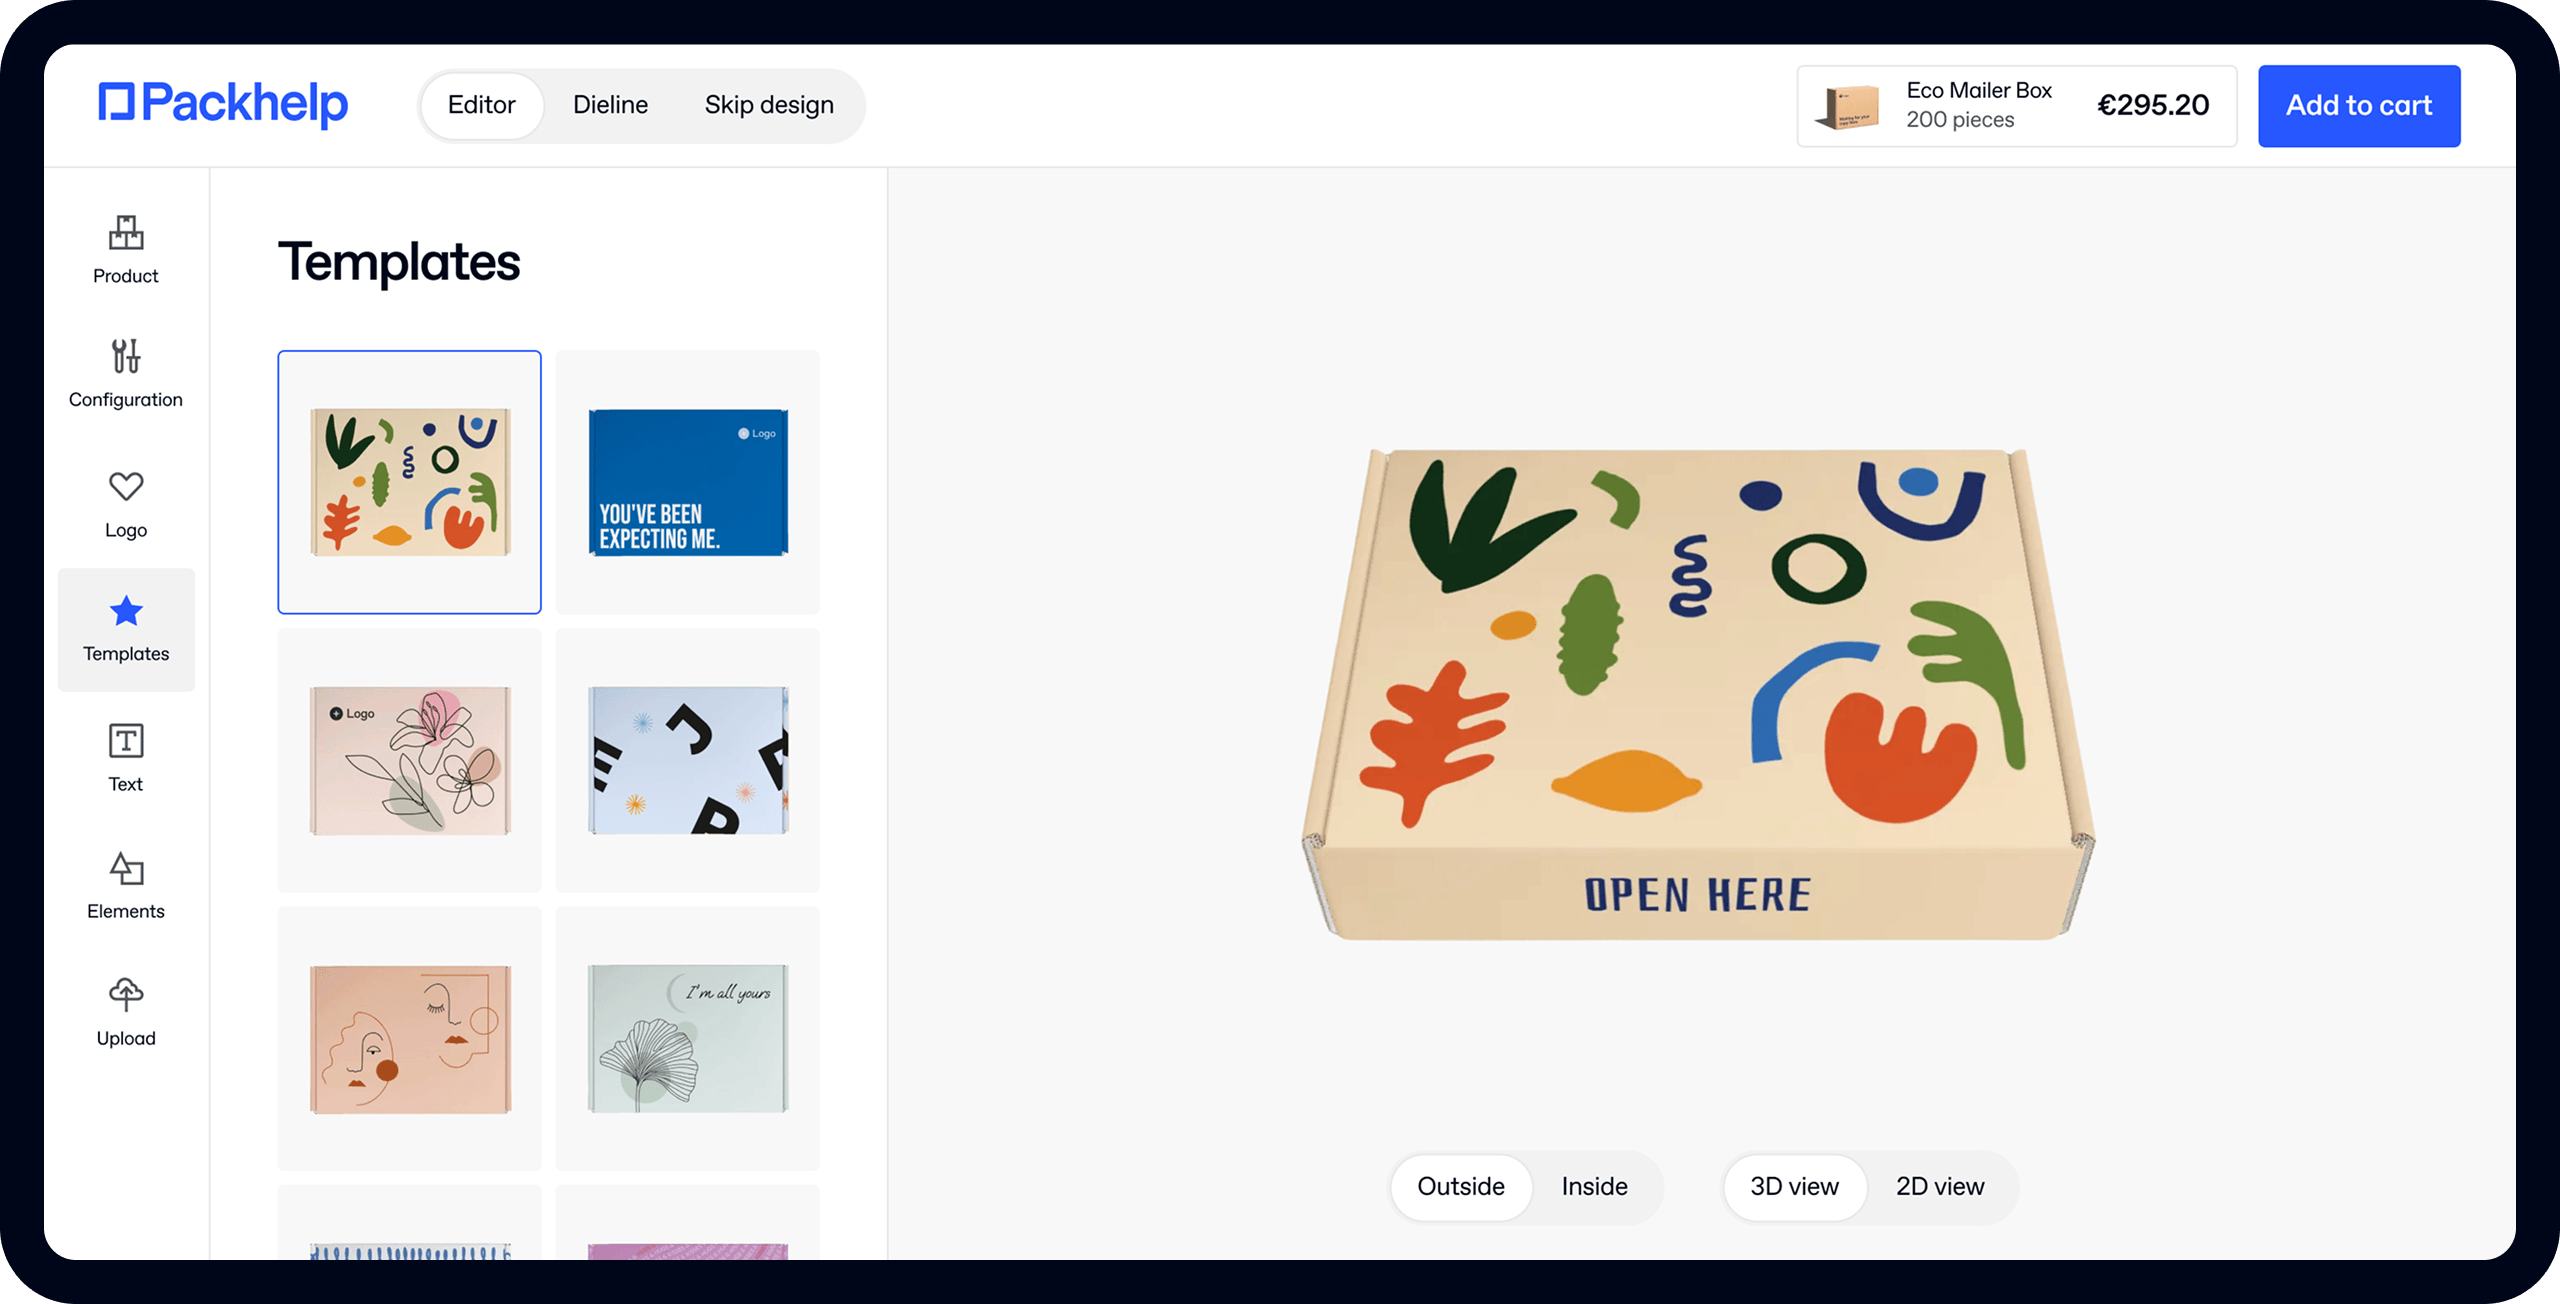
Step 9 - Upload images to Packhelp designer
Back in the Packhelp editor, click on the surface that you’d like to build first.
Then click the ‘Image’ button.

Next, locate and upload each file individually. Then click on the file that you would like to add to the surface you’re currently looking at.
Repeat this process for each surface that you’ve designed a custom surface for.
Note: If your image is too close to the edge (within 5mm) you will be warned. It’s best not to put your image this close to the edge. In very rare occasions, images may shift up to 5mm during the printing process.
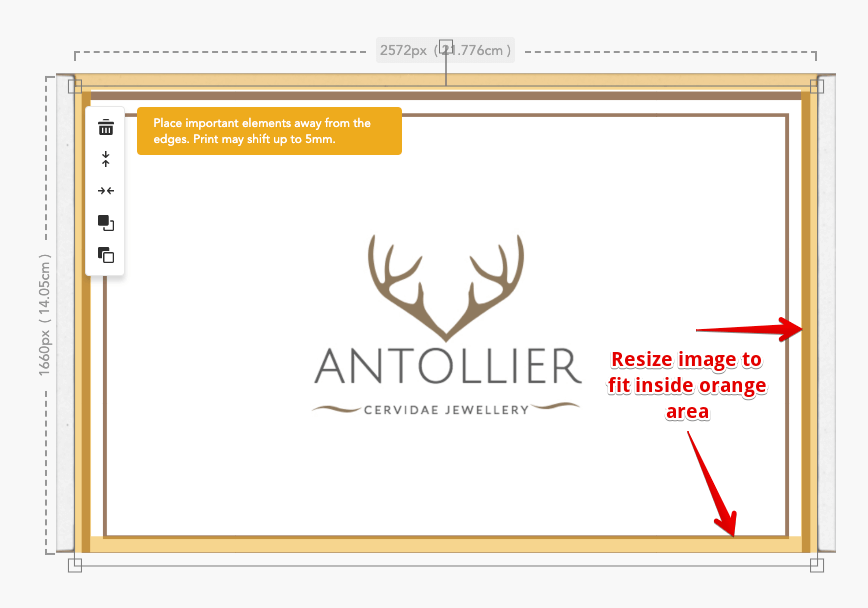
Resize your image so that it fits inside the orange zone. This means that if your image is moved during the printing process, it will still be on the same face of the box.
Once you’re complete, click the ‘3D’ button to see your box in all its glory!
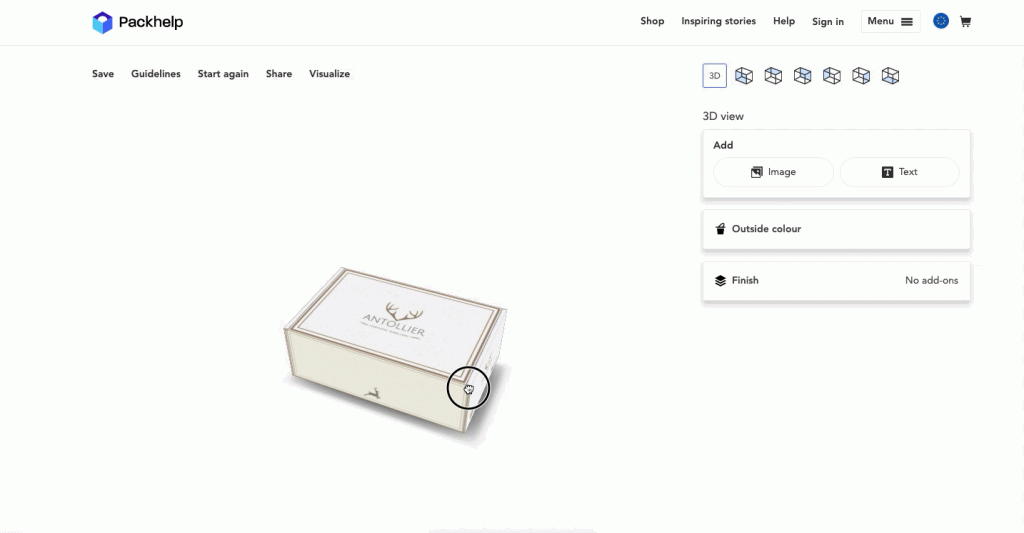
If there’s an element that you’re not happy with, now is the time to go back and edit it.
Chances are that you will need to make a few revisions of your design in Canva first and then re-upload them into the Packhelp editor.
Change background colours, readjust sizes and get your box looking exactly how you want it to look.
As you saw, you’ll be notified if your images are too close to the edges. You’ll also be notified if your images aren’t a high-enough resolution.
ProTip: If you have an iPhone or iPad, you can download the PackHelp app and use the magic of augmented reality to see your product packaging!
In the top left of the Packhelp editor, there are a few other options.
If you want to come back to your design at a later date, just hit ‘Save’ in the top right. Enter your email address and you can revisit your masterpiece any time you like.
Hit 'Guidelines' if you want to see the restraints of your custom packaging design in the Packhelp editor.
'Start again' lets you start fresh, and 'Share' lets you share this with your business partners, or on social media channels.
Click 'Visualise' to be taken to a download link of the previously mentioned Augmented Reality App.

Step 11 - Place your order
The rest of the process is the same as any other ecommerce purchase. Click ‘Add to Cart’ at the bottom of the page and your design will be added to the cart.
Return to the editor and create any other products you’d like.
For example:
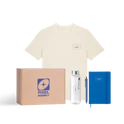
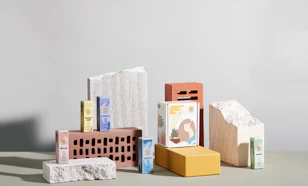
Custom product boxes for retail:

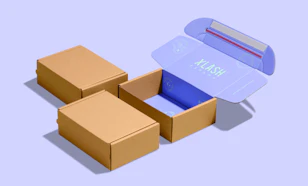
Custom kraft packing tape, or any other form of custom tape, great for keeping your box closed as long as possible:

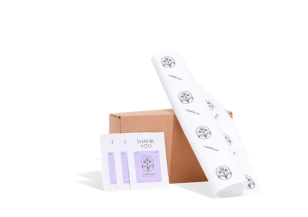
Or custom printed tissue paper to keep your package contents secure:

As you can see, there’s quite a range of products that you can add your branding onto!
Once your cart is complete, continue to the checkout. Select the delivery method that you’d like - Standard or Express.
Note: 99.99% of orders leave our factory within 14 days of being ordered. This is the standard delivery method. If you require express delivery, we can have your products manufactured within 7 days.
Next, enter your payment and delivery details as you would for just about any other online purchase.
Your order will be processed and one of the sales team will be in contact with you about the specifics of your order!

Conclusion
So there you have it, the easy way to design your custom packaging using Canva and Packhelp!
You don’t need to be a master of branding and design to create good-quality packaging that shows off your brand.
The versatile design tools that are a part of Canva are just about all you need.
Once your packaging arrives, you’ll begin to see the value that it can add to your customer.
When your customer is holding a stunning looking box in their hands, they’re even more excited about opening it up and seeing the product that they’re purchased.
This level of customer delight makes your customer love your brand so much more. This is the first step in turning a one-time customer into a return customer.
So head over to Canva and create an account if you haven’t already done so.
Even if you’re not there to design product packaging, it’s an incredibly powerful tool that can be home to just about everything you need in the world of design.


